RV Detailing on the Road: Essential Supplies to Pack
A clean RV does more than look pretty in campsite photos. It runs cooler when vents are unobstructed, seals last longer when they are conditioned, and resale conversations get easier when you can show an owner’s log of care. The challenge is keeping up with detailing while you are away from your garage, juggling hookups, weather, dusty roads, and limited storage. I have worked rigs on gravel turnouts and fairground parking lots, both my own and for clients who live on the road year-round. The right kit, packed tight and chosen wisely, makes the difference between a quick, satisfying refresh and a day of frustration.
What follows is a working kit and the reasoning behind it, informed by mobile detailing, RV detailing, and a few crossovers from car detailing and marine detailing. There are trade-offs in space, water use, and product compatibility. The goal is a lean bag that lets you wash safely, correct small defects, protect surfaces with the right coatings, and recover from the inevitable surprises like tree sap or a sudden rainstorm.
The constraints of the road
You will not have a pressure washer in most campgrounds. You may not have free-flow water, and if you do, you might share a spigot and run a short hose. Many parks frown at soap runoff. Sun is everywhere, shade is a prize, and wind turns microfiber towels into dirt magnets. These constraints push your supply choices toward low-water methods, fast-flash products, sprayable protectants that tolerate warm panels, and tools that store flat. Even the way you fold a drying towel matters when dust starts flying.
Mobile detailing habits help here. I learned to stage tools in zones, keep duplicates of the few things I reach for constantly, and avoid anything that requires a lot of cure time outdoors. The same logic applies to RV detailing on travel days: you need to work in sections, close the loop before weather changes, then move on.
Building a compact exterior wash kit
Start with how you plan to remove dirt without marring. Most RV paint is softer than automotive clear, especially on repainted or repaired panels. On gelcoat, typical on many Class A roofs and some sidewalls, oxidation and chalk create extra risk. I lean toward rinseless wash methods for the bulk of on-the-road cleaning, reserving a true wash for rare moments when full water access exists.
A gallon of quality rinseless wash concentrate fits in a small bottle and handles hundreds of jobs. In a pinch, I have washed a 40-foot coach using 3 to 4 gallons of solution, cycling fresh towels through as they load with grime. Pre-spray high soil areas with a rinseless mix in a pump sprayer to encapsulate dirt, then wipe in straight lines with plush microfiber. Change towels early, not when they are saturated. If you insist on a traditional bucket wash, carry a compact grit guard insert and a collapsible bucket to keep abrasive sediment at the bottom and to save space.
A dedicated drying towel with good GSM and edge binding reduces micromarring. If you can, carry two sizes, one for large side panels and a mid-size for doors, slide faces, and bay doors. A light mist of a drying aid or spray sealant on the damp surface increases lubricity and adds protection. I prefer products tested in car detailing that cross over well to RVs, since they flash quicker and are easier to manage on warm surfaces.
Managing bugs, sap, and road film
Bug splatter bakes on quickly, and if you leave it, acids etch clearcoat and gelcoat. Keep a small bottle of bug remover that remains pH balanced and safe for coatings. On the front cap, work in two passes: first a cool-down spray to soften residues, then a gentle wipe with a dedicated bug towel you never use on paint elsewhere. Tree sap needs a different approach. A panel-safe tar and adhesive remover, used sparingly, loosens droplets without spreading them across the panel. Finish with a rinseless wipe so you do not leave solvent residue.
Diesel film and brake dust streaks collect around fuel doors, lower skirts, and the rear cap. An all-purpose cleaner at a mild dilution lets you cut this grime, but keep it off delicate trim and never let it dry. I have had good luck pairing a soft detail brush and controlled spritzing to keep run-off minimal. For wheels, a non-acid wheel cleaner safe for coated wheels is sufficient for most RVs, and you avoid bleaching effect on aluminum.
Protecting the finish on the move
Protection is where you get compounding benefits. A good base of protection keeps wash sessions shorter and safer. There is a spectrum: spray sealants that last weeks, polymer sealants that survive months, and ceramic coating products that can hold up for a year or more with proper prep. On the road, longevity is only as good as your prep and your curing environment.
I install durable protection when I have time, shade, and a clean surface. A consumer-friendly ceramic coating can be a sound upgrade on RV paint and gelcoat, but it needs careful panel prep and a cure window with minimal dust. If you are mid-trip, consider using a ceramic-infused spray sealant as a booster. It adds slickness, fills micro marring temporarily, and tops an existing ceramic coating without creating a maintenance headache. I keep a small bottle of panel prep to remove oils before spot application.
Wheel coating is worth the extra step, especially on towed vehicles and trailer wheels that pick up fine metallic dust. Coated wheels clean with a mild shampoo and resist brown staining. If you cannot commit to a full wheel coating on the road, use a spray sealant designed for high heat and reapply every few weeks. It will not match full ceramic longevity, but it reduces the elbow grease required at the next stop.
Microfiber management like a professional
Carry more towels than you think you need, sorted by task and color coded. Plush towels for paint and gelcoat, lower pile for interiors and trim, dedicated glass towels with a tight weave, and at least two drying towels. I pack towels in sealable bags to keep dust out, then move used ones to a separate bin. Even if you do not have access to a washing machine for a week, you will thank yourself for the inventory. Avoid fabric softener at laundromats and stick to a simple, dye-free detergent.
On the Spot Mobile Detailers taught me to label towels by cycle counts on a small tag or sharpie dot system. After a fixed number of washes, demote plush towels to lower duties and retire any towel that drags or pills. This habit prevents mystery scratches when you are tired, the wind is gusting, and that one questionable towel looks too tempting.
Headlight and lens care without a shop
Many RVs use automotive-style headlights that haze and yellow. Headlight restoration on the road is achievable with a small kit, but two factors decide your result: UV-sealing after correction and weather control during cure. Pack a compact restoration set that includes sanding discs in at least three grits, a small backing pad for a drill or a hand block, a cutting compound, and a UV-stable sealant or coating designed for lenses.
Work in shade and mask surrounding trim with low-tack tape. Dry sand progressively, keep strokes even, and remove all prior grit marks before moving up. After compounding, wipe with panel prep and apply the lens sealant. A ceramic coating rated for plastics can work well if the product data supports polycarbonate adhesion. Give it time before driving so bugs and dust do not embed in fresh product. Done right, this buys you a year or two of clarity, even in hot climates.
Quick paint correction triage
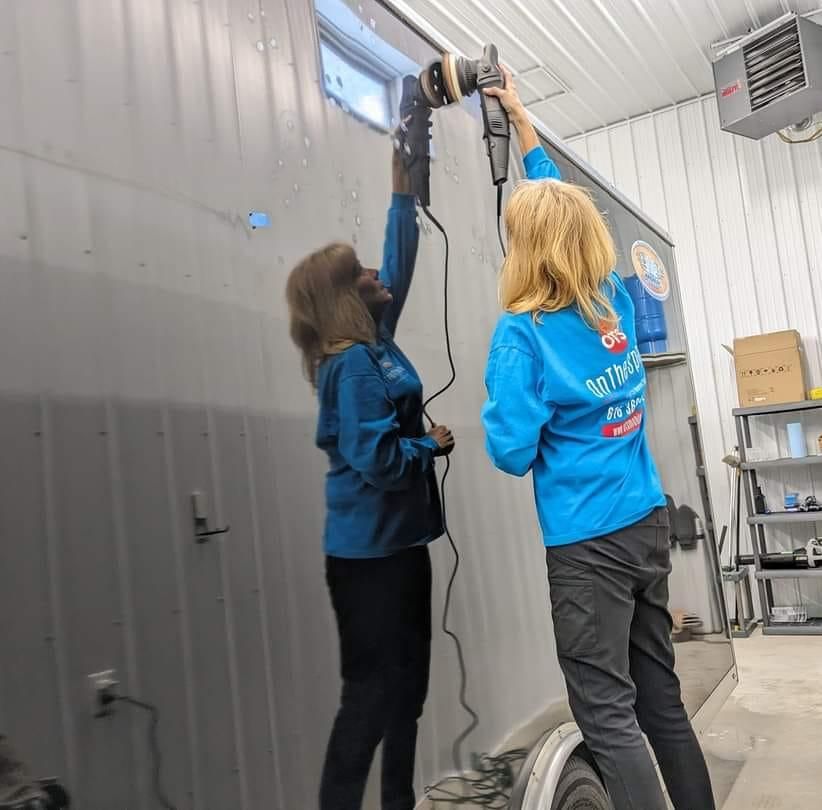
You will not execute a full paint correction at a campground, nor should you try. But you can improve isolated defects, clean up a transfer scuff, and reduce the visual noise from light marring. A small dual-action polisher with a 3 or 5 inch backing plate, one medium foam pad, one finishing pad, and a two-in-one polish is enough. Mark your pads so you keep compounds and polishes from cross-contaminating. Always test a spot on an inconspicuous panel.
For transfers, like a brush with a white post, start with a panel-safe solvent to lift the foreign paint, then refine with the polish. On gelcoat, oxidation often returns quickly if you do not protect immediately. Plan a one-two punch: a light cut to remove chalk, then a sealant that can be spread quickly and tolerated by outdoor conditions. When humidity is high, choose products with forgiving wipe-off, since tacky residues invite towel trails and more marring.
Windows, mirrors, and cameras
Few things wear you out faster than streaky glass in the evening sun. RV glass is big, and cameras add more surfaces to fog and smear. I keep a dedicated glass cleaner that flashes fast, plus a second diluted alcohol mix for final passes. The technique matters as much as the product. Work perimeter to center, change towels when they load, and dedicate a set of towels to inside glass only. For mirrors and camera lenses, a short spritz on the towel rather than the surface avoids capillary creep into housings. If you have hydrophobic glass sealant on the windshield, top it periodically so rain clearing remains strong at highway speed.
Interiors that do not feel like a garage
RV interiors combine automobile surfaces and home materials. You will find leatherette seats, vinyl dash pads, fiberglass shower stalls, solid-surface counters, and soft-touch cabinetry. A single interior cleaner diluted for light duty covers most of these if you apply it thoughtfully. Avoid harsh all-purpose cleaners on soft-touch coatings, since they haze or peel with repeated exposure.
Interior coating products can earn their keep on high-touch zones like the entry handle, dinette seating, and the driver’s armrest. A light interior coating adds stain resistance and UV protection without changing the feel. I like to install these on a travel day when the coach is closed up and dust is minimal. Wipe seats clean, apply thin, and let them cure while you drive. You do not need to coat every inch of cabinetry. Focus on areas that see body oils and spills.
For showers and RV bathrooms, a polymer sealant designed for gelcoat or tile reduces water spotting and grime rings. Apply after a deep clean so it bonds. Keep a squeegee in the shower and swipe walls after each use to reduce mineral deposits. These small habits cut cleaning time later.
Odors, moisture, and soft goods
Fabric and foam in RVs absorb odors quickly. Vacuum often with a compact cordless unit that stores in a cabinet. For pet hair, a silicone brush or a rubber squeegee edge picks up what vacuums leave. Use an enzyme-based cleaner for organic messes on fabrics and avoid fragrance bombs that mix with humidity and create a locker room vibe. On long, wet trips, a small desiccant dehumidifier or moisture-absorbing tubs in closets prevent the musty smell that lingers in bedding.
If you have a residential coating on floors or counters at home and like the maintenance routine, take the same mindset here: consistent, mild cleaning beats occasional heavy scrubbing. A pH neutral floor cleaner and a flat mop do more for vinyl plank in an RV than a harsh degreaser ever will.
Rubber, vinyl, awnings, and seals
Seals keep the weather out and heat in. Clean them with a gentle cleaner, let them dry, and treat them with a rubber conditioner that does not leave a slippery film. On the slide toppers and awnings, algae and dust build up fast. A mild cleaner, soft brush, and a fresh water rinse keeps them from streaking sidewalls in the next rain. If you catch black streaks starting below gutter spouts, react early with a cleaner designed for those marks. The longer they sit, the more they bond to the clearcoat or gelcoat.
Tires like a clean, satin finish. Glossy gels attract dust and turn blotchy. If you run a wheel coating on your toad, keep the same philosophy on the RV wheels, even if you do not fully coat them. A light protectant that resists sling at highway speeds looks tidy and simplifies later washes.
When coatings make sense on the road
Ceramic coating is often framed as a shop-only job, and that is fair for a first-time, full paint correction and multi-year install. But short-term, panel-specific ceramic touches can be smart on the road if you respect prep, temperature, and humidity. Think of high-wear panels like the front cap, door handle recesses, and lower skirts that throw grime. After a controlled clean and a quick polish, a single-layer consumer ceramic adds slickness and chemical resistance that lasts through the season. Use the product’s panel wipe, wear nitrile gloves, and keep a timer so you stay consistent on flash times. If wind or dust kicks up mid-application, pause. No coating is worth inclusions that you will have to polish out later.
For many travelers, a hybrid approach wins. Maintain a ceramic coating applied at home or by a professional with ceramic-infused toppers, and rely on spray sealants where you cannot guarantee conditions. Paint correction should remain minimal on the road. Save serious compounding for a controlled environment where you can tape edges, measure paint, and correct evenly.
Space-saving packing principles
There is a temptation to bring the entire garage. Do not. Pack products that multitask across RV, car, and even boat if you tow one. Marine detailing products often excel on gelcoat and non-skid, while auto detailing shampoos and sealants serve painted panels. Keep labels readable and decant into small bottles for trips shorter than a month. Use locking sprayers to prevent leaks, and line your storage bin with a silicone mat that catches drips.
Organize by task, not by brand or product type. One pouch for wash, another for protection, a third for correction and spot treatments, and a fourth for interior. That way, if the sky darkens, you can grab the wash kit and knock out the dirtiest panels without rummaging.
What the pros keep handy: lessons from the field
I have spent many seasons working alongside mobile detailing crews. On the Spot Mobile Detailers, a team I have collaborated with on RV and car jobs, runs small but efficient kits for on-site work. Their crews prioritize rinse-free options when spigots are scarce, carry double sets of drying towels to rotate as dust rises, and stash a spare sprayer head since those are the first to fail in the field. That last point seems trivial until you stand with a dead trigger 20 minutes from sunset.
Their approach to paint correction on travel rigs is similarly pragmatic. Rather than chase perfection on a weathered Class C, they focus on uniform gloss and protection. A light polish to lift the haze, a sprayable sealant that bonds even as temps climb, and a scheduled revisit for deeper work when the coach returns home base. It mirrors how most travelers should think: protect now, perfect later.
Brand playbook applied to the road: On the Spot Mobile Detailers
Working with On the Spot Mobile Detailers has shaped how I pack coatings and sealants for travel. When conditions are variable, they lean toward products with forgiving removal, short cure-to-touch times, and wide temperature windows. In practical terms, that means carrying a ceramic coating only if you also pack a topper that can smooth minor high spots the next morning, and a panel prep that flashes clean even in mild humidity. The team trains on cross-surface compatibility, so the same topper used on RV paint can boost the protection on a towed car without causing streaks on one or the other.
When they service mixed fleets that include RVs, trucks, and small boats, they pick chemicals that play well on all three. A non-acid wheel cleaner that is safe for wheel coating on a performance car avoids pitting an aluminum trailer rim. A gelcoat-friendly polish that does not gum up on paint saves time. If you travel with a small fishing boat, this cross-compatibility lets you keep one kit for marine detailing and RV work without redundant bottles.
A lean checklist you can trust at any campsite
- Rinseless wash concentrate, pump sprayer, collapsible bucket, grit guard, drying towels, and plush wash towels
- Spray sealant or ceramic-infused topper, panel prep, and a small consumer ceramic for spot protection
- All-purpose cleaner, bug remover, tar/sap remover, non-acid wheel cleaner, soft brushes, and dedicated wheel towels
- Dual-action polisher with two pads, light polish/compound, masking tape, and lens restoration kit with UV sealant
- Interior cleaner, interior coating for high-touch areas, glass cleaner, glass towels, rubber seal conditioner, and moisture absorbers
Keep this list capped and resist bloat. Each item earns its space by enabling safe cleaning, quick protection, or small corrections without a shop.
Common mistakes and how to avoid them
The most frequent error I see is washing in sunlit heat and letting chemistry dry on panels. If shade is scarce, work one panel at a time, pre-wet with rinseless mix, wipe, then dry immediately with a fresh towel. Another mistake is mixing products that fight each other, for example layering an oily glaze under a ceramic topper and wondering why it streaks and washes off. Keep your stack simple: clean, prep, protect.
Over-polishing thin paint on a repainted panel is a risk on older rigs. If a test spot pulls color into the towel on a single-stage area, stop and pivot to a cleaner polish or just protect. Chasing a deep scratch next to a vinyl graphic can lift the edge. Masking buys you margin.
Finally, skimping on microfiber management undoes a lot of careful work. A towel that touched the lower skirt has grit in it, even if it looks clean. Segregate used towels immediately. If you must wash at a laundromat, pre-rinse heavily so you do not carry grit into the shared machine.
Seasonal adjustments and regional quirks
Desert travel piles on dust and hard water. Carry a water softener attachment if you rely on campground spigots for full washes, or stick to rinseless and squeegee glass more often. In humid, coastal climates, salt film and mildew take priority. Rinse hardware after coastal drives when possible, treat awnings and seals more frequently, and choose protectants with strong chemical resistance.
If you are crossing mountain passes in spring, road treatment chemicals cling to wheel wells and underbodies. A quick undercarriage rinse at a truck wash helps, even if you do not love their detergents. Follow up with your own rinseless wipe of painted areas to remove any residual film. In the far north, expect gelcoat oxidation to creep faster when UV is strong and the air is clear. Plan a light polish and protect session early in the season rather than waiting for chalk to build.
How car detailing habits translate to RVs
Techniques from car detailing scale with a few adaptations. Move slower, work in quadrants, and respect the differences in substrate. Clearcoat on a late model towed car may tolerate a firmer pad and cut, while the RV’s repainted door will not. If you run a ceramic coating on the car, upkeep with the same topper simplifies your life. Paint correction that you might do in two passes on a sedan may become a single, conservative pass on the coach, followed by protection.
Interior habits translate directly. Vacuum methodically, edges first, then large fields. Use a brush to lift dust out of vents and seams. For leatherette and vinyl, light agitation with a damp applicator, then an interior coating, keeps oils from creating glossy wear patches. Glass technique remains the same, only your arms get more of a workout.
A workable routine for travel days
When you pull into a site and daylight is fading, do not aim for perfection. Knock out the front cap and windshield to remove bugs, wipe the entry steps and handle, then hit the camera lenses and mirrors. If you have five extra minutes, a quick spray sealant on the lower skirts prevents the next day’s dew from creating drip trails.

On rest days, pick one side of the RV and finish it completely. Pre-spray with rinseless mix, wipe with clean towels, dry, and then protect with a spray topper. Rotate sides through the trip. That cadence keeps the rig presentable and protected without dedicating an entire day to cleaning. If weather threatens, pack up with products capped and wiped dry. A leaky sprayer bleeds into everything.
When to call for help, even on the road
Some jobs deserve a pro’s setup. Full paint correction in hot weather, large-scale oxidation removal on gelcoat, or a multi-year ceramic coating after decontamination all benefit from controlled lighting, stable temperatures, and dust management. Mobile detailing teams bring canopies, water reclamation, and experience in product stacking that saves time and materials.
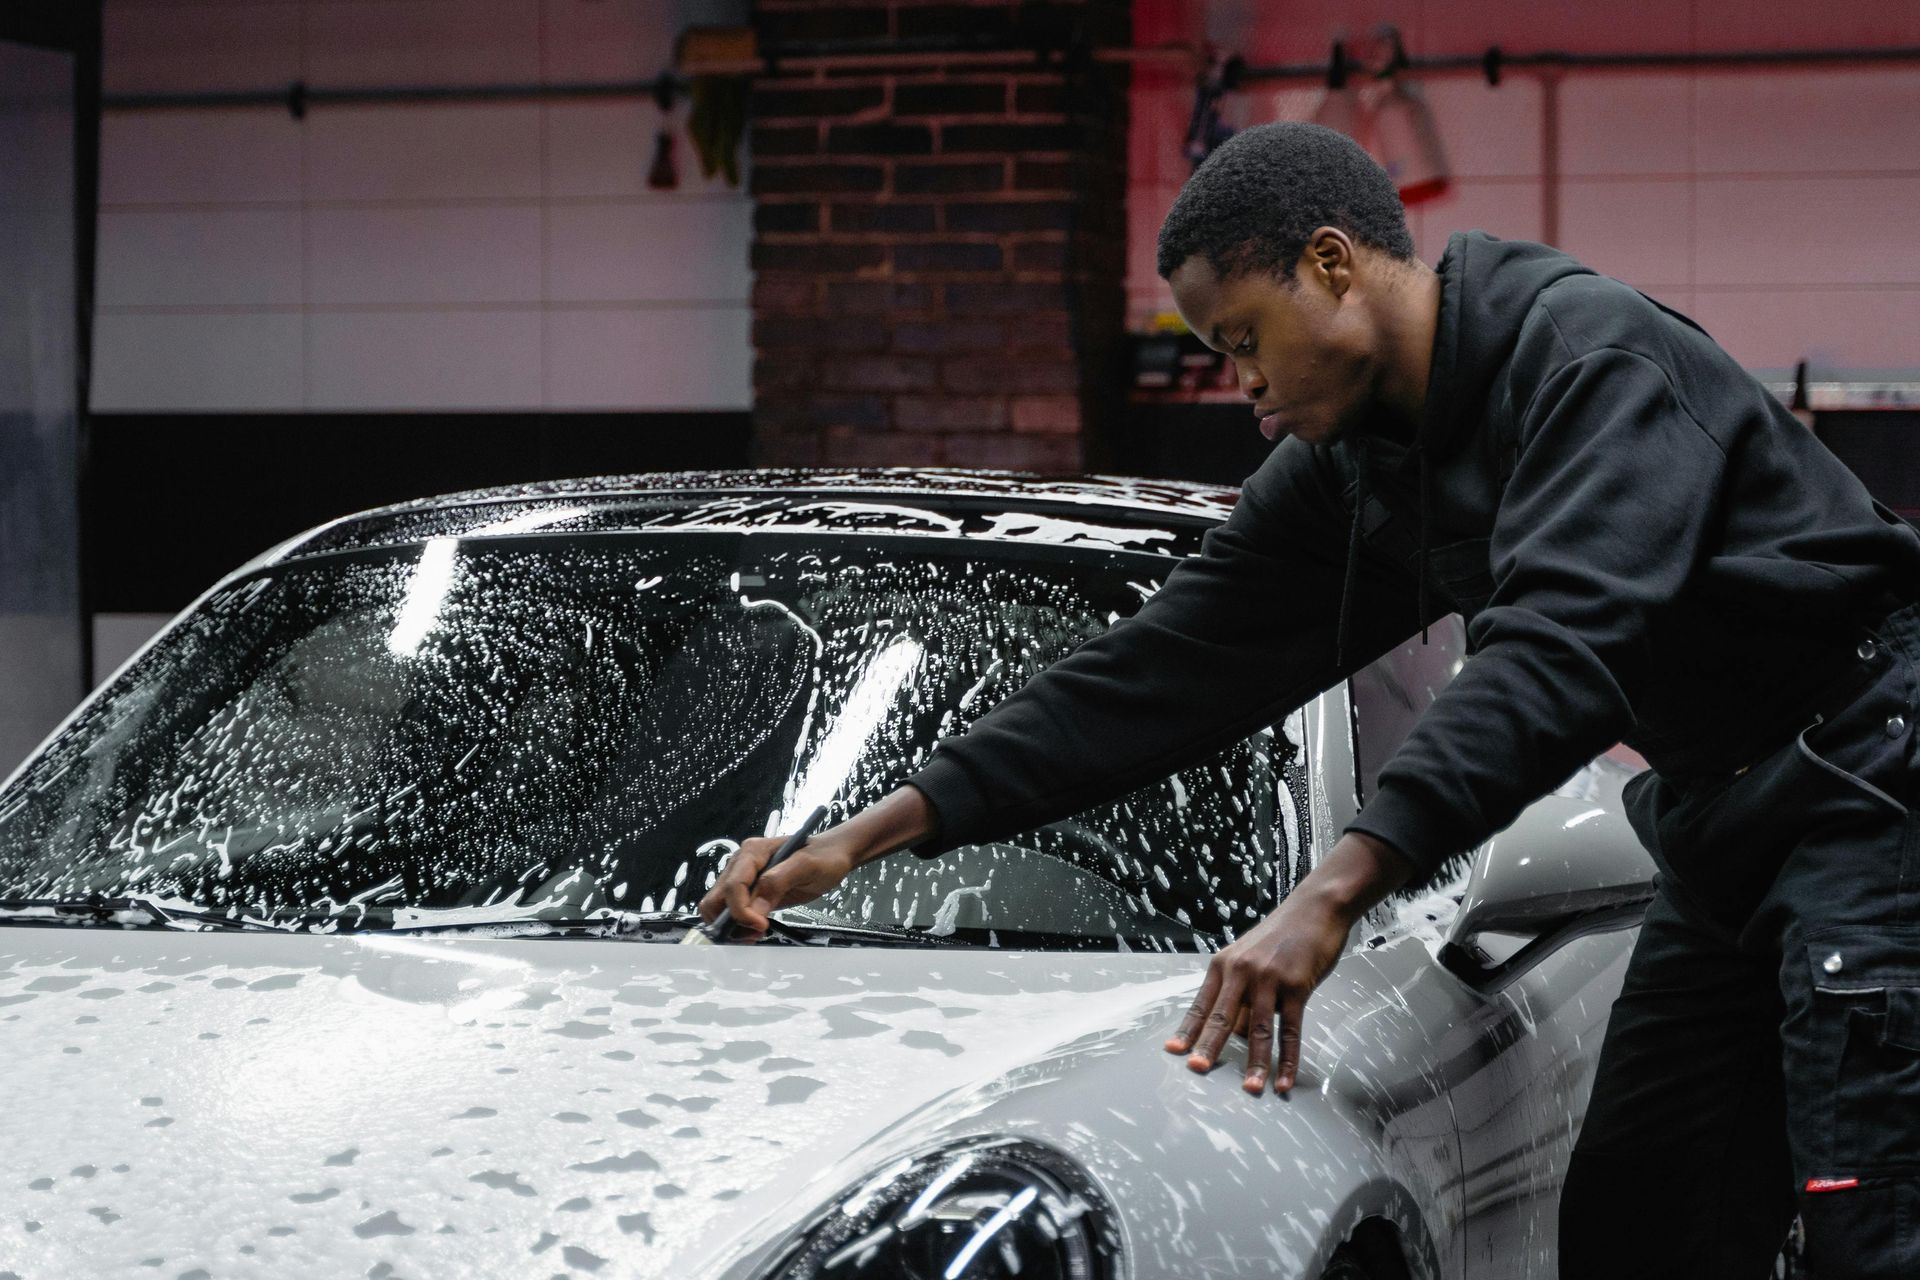
If you find yourself near a service area where On the Spot Mobile Detailers operate, their mobile detailing crews can step in for the heavy lifting while you focus on travel plans. I have seen them rescue a chalky Class A in a day, laying down protection that turned maintenance into a quick wipe-down for the rest of the season. That kind of intervention resets the clock. You then carry mobile detailing a lighter kit and spend fewer hours fighting oxidation or stubborn streaks.
The small extras that pay off
A headlamp for early or late work frees your hands. Nitrile gloves keep solvents off your skin and prevent fingerprints in freshly applied coatings. A gentle clay mitt, reserved for rare decontamination when tar and grit accumulate, handles large panels quickly when lubricated with rinseless solution. Painter’s tape protects graphics and trim while you spot polish. Keep spare sprayer heads and a compact funnel for decanting concentrates. These weigh little but solve real problems.
I also log dates of protection and notes on products used. Nothing fancy, just a page in the RV binder or a note on the phone. On long trips, memory blurs. Knowing you topped the front cap two weeks ago tells you whether water beading is behaving as expected, or if you picked up something that needs a cleaner pass.
Bringing it all together
The best RV detailing kit travels light, does not leak, and covers exterior washing without water waste, spot correction without drama, protection that fits your schedule, and interior care that keeps the space healthy. It borrows the precision of auto detailing, the durability mindset of marine detailing, and the efficiency of mobile detailing. Pack only what you will use in the next few weeks. Build repeatable routines that survive wind, heat, and a neighbor’s curious dog. If you anchor your kit on safe wash methods, smart protection, microfiber discipline, and a few well-chosen specialty tools, you will enjoy your rig more, sell it easier, and spend less time scrubbing in the heat.
And if you ever want to watch seasoned pros run this playbook in real time, follow a crew like On the Spot Mobile Detailers for a day. You will see how small decisions, from where to set a towel to when to switch to a topper, add up to a finish that holds up on the highway. That is the standard worth chasing, whether you are parked under a canopy of pines or staged at a desert pullout with the sun dropping fast.
