The Science of Concrete: Why Hairline Cracks Happen in New Slabs
Concrete looks solid, almost stone-like, so a hairline crack across a brand-new driveway or garage floor sets off alarms. I hear the same frustration from homeowners every spring: it was smooth yesterday, now I see a thin line climbing across the surface. Did the Concrete Contractor mess up? Is water getting in? Will it get worse?
Hairline cracks in your concrete can be unsettling, but they are also a normal byproduct of how cement-based materials gain strength and lose moisture. Concrete is a moving, shrinking, temperature-sensitive composite, not a static block. When you know what is happening at the microscopic level, you can tell the difference between cosmetic lines and structural problems, and you can choose the right fix.
What concrete really is
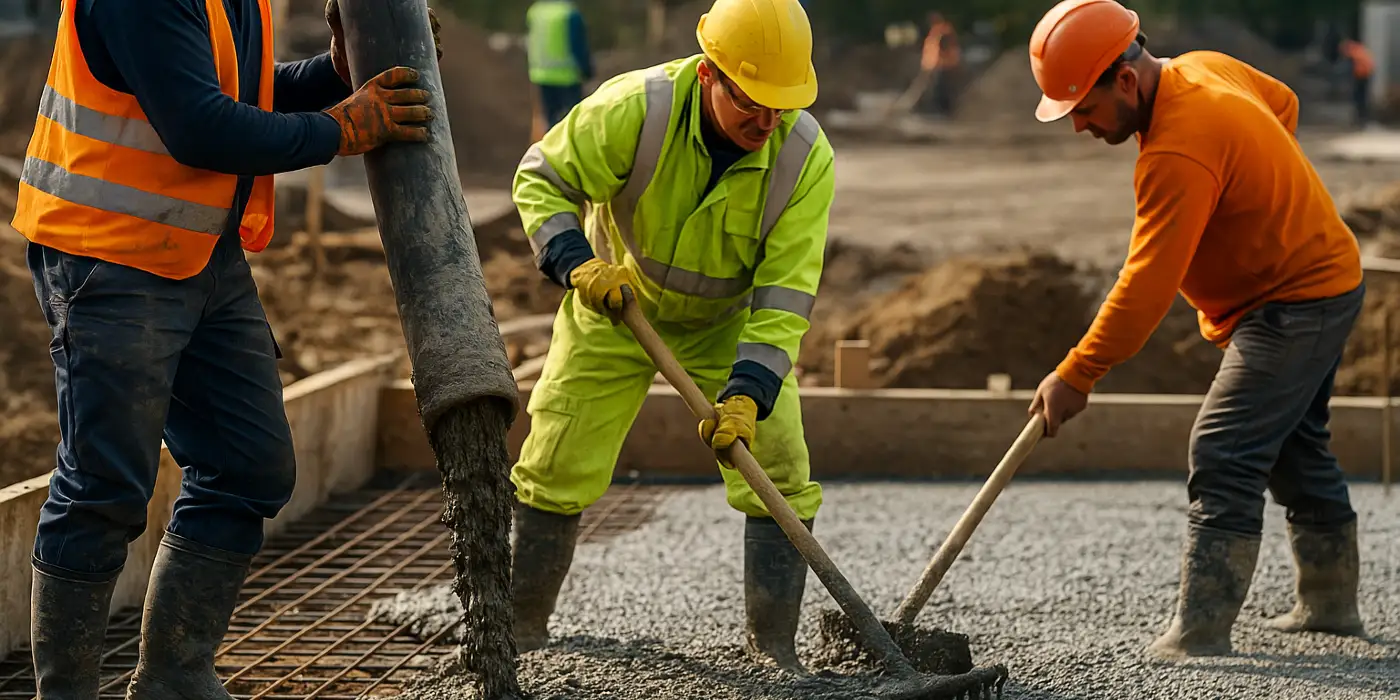
Concrete is a composite of cement, water, sand, and stone. Portland cement reacts with water, a chemical process called hydration, forming calcium silicate hydrate gel that binds the aggregate. That reaction takes place for months, but the first 28 days are where most of the strength develops. During that time, and even before the finishing crew packs their Concrete tools, the slab is also losing water to evaporation and self-desiccation as hydration consumes water internally.
Concrete shrinks as it dries and cools. It expands when it warms. It creeps under sustained load. It is strong in compression but weak in tension. To cope with these opposing forces, the mix design, subgrade, reinforcement, joint layout, and curing regimen must work in concert. When they do not, the weakest plane relieves stress by cracking. The result often shows as thin, tight hairlines that rarely affect performance but are very visible on a broom-finished driveway, patio, or interior slab.
The physics behind hairline cracks
Cracks form when tensile stress exceeds tensile capacity. In a new slab, there are several sources of early tensile stress:
-
Rapid surface drying. If the top of the slab dries faster than the interior, the skin contracts first and pulls against the wetter, bulk concrete beneath. That differential shrinkage creates tension near the surface and produces fine, shallow cracks, commonly called plastic shrinkage cracks. They can appear within a few hours after placement, sometimes while the crew is still edging. You will often see a faint map-like pattern, the lines usually 1 to 3 feet apart.
-
Thermal contraction. Cement hydration generates heat. As the slab cools from its peak temperature during the first night, it contracts. If it is restrained by the subgrade, formwork, rebar, adjacent walls, or variations in thickness, internal tension rises. If relief joints are not in place yet, the concrete may create its own relief, often as a thin instantaneous crack across a corner or mid-panel.
-
Drying shrinkage. Over days and weeks, the slab continues to lose moisture to the air. Average free shrinkage of a typical mix might be in the range of 400 to 800 microstrain. On a 12-foot panel, that equates to roughly 1/16 to 1/8 inch of potential length change trying to happen. Proper jointing corrals that movement. Without it, the slab chooses a path to crack.
-
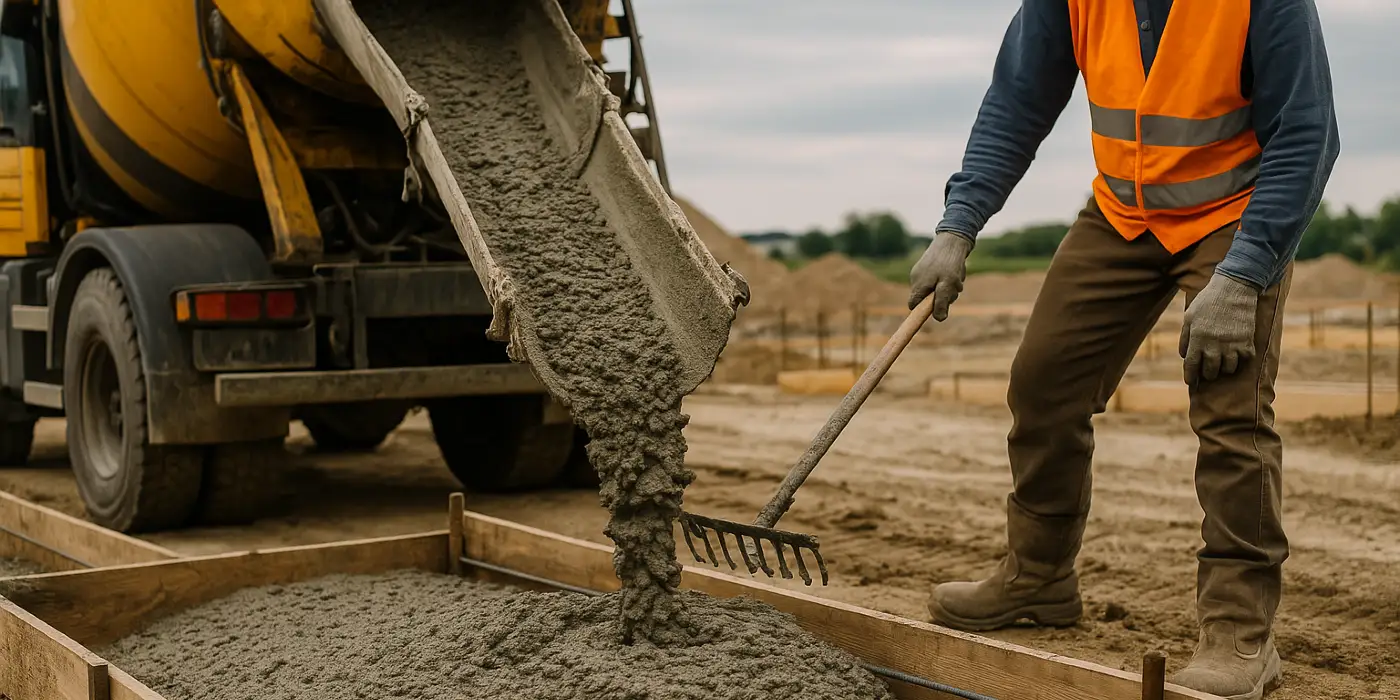
Settlement and subgrade interaction. If subgrade support varies, part of the slab sags slightly as bleed water escapes and the mix consolidates. Settlement cracks can appear where the slab transitions from a thickened edge to a thinner interior or along a trench backfill line. Hairlines over utility trenches are common because compacted backfill does not behave like undisturbed soil.
All of these processes can be active in a single slab. From the surface, the symptom is the same: a narrow line, often less than the width of a credit card, that you can trace with a fingernail.
Why mix design matters
Two concrete mixes that both hit 4,000 psi at 28 days can behave very differently when it comes to hairline cracks. Mix proportions drive shrinkage, bleeding, setting behavior, and temperature rise.
Water content is the big lever. Higher water-to-cement ratios increase total shrinkage, introduce more bleeding, and reduce early strength. I avoid specifying more water than necessary for placement. If the crew needs more workability, I prefer water-reducing admixtures over adding water at the job site. A good superplasticizer can add several inches of slump without raising w/c, which keeps shrinkage in check.
Aggregate matters too. Well-graded aggregate reduces paste demand. Paste is the portion that shrinks the most, so less paste, less shrinkage. Larger maximum aggregate size helps, up to practical limits for slab thickness and workability. Some specs still call for very sandy mixes because they finish like butter, but they shrink more. If you are meeting with concrete companies to bid a project, ask about aggregate gradation and whether they can provide a lower-paste mix for slabs.
Supplementary cementitious materials can help. Fly ash and slag cement reduce heat of hydration and can improve workability at a given water content. That lowers early thermal gradients and can reduce plastic shrinkage. Silica fume, used sparingly in flatwork, can tighten the surface and reduce bleeding, but it accelerates finishing demands and requires disciplined curing.
Fibers are another tool. Micro-synthetic fibers, dosed around 0.5 to 1.5 pounds per cubic yard, disperse in the matrix and provide many small bridges across microcracks. They do not raise structural capacity like rebar, but they reduce plastic shrinkage cracking and help keep very small cracks tighter. If hairline cracks in your concrete drive you crazy, fibers are an inexpensive insurance policy.
The role of weather and timing
If there is one lesson from slab work, it is that the sky calls the plays. The windiest afternoons with single-digit humidity will produce surface drying rates above 0.2 pounds per square foot per hour, which is the threshold where plastic shrinkage cracking becomes likely. I check evaporation rate charts or use a field app before green-lighting a pour. Hot sun, a stiff breeze, and low humidity can defeat even a sharp crew with the right Concrete tools.
A few field-proven practices limit risk:
-
Break the wind. Erect temporary windbreaks with plastic sheeting on the windward side of the pour, or position trucks and equipment to create a dead zone where finishing happens.
-
Cool the materials. Shade the formwork, keep aggregates damp, and order the mix cooler if the plant can chill water or use liquid nitrogen for large placements. Even simple moves, like starting at dawn, drop surface temperatures and slow evaporation.
-
Use evaporation retardant. A monomolecular film applied lightly during finishing buys time by slowing surface water loss without sealing the slab.
-
Get curing on fast. The first hour after final finish is not a coffee break. Lay curing blankets, apply curing compound at the manufacturer’s rate, or start wet curing with soaker hoses and burlap. That early moisture retention reduces early shrinkage and improves surface durability.
Those steps are not exotic. They do not add much cost. They do require planning, especially on residential jobs where schedules are tight and crews juggle multiple sites. A disciplined Concrete Contractor will call off a slab if the weather is against you and will be honest about the risk.
Joints: where cracks go on purpose
I sometimes tell clients that concrete will crack, but we get to choose where. Control joints are planned planes of weakness cut or tooled into the slab to direct shrinkage cracking. Proper joint layout looks boring on paper and beautiful a year later.
Spacing depends on slab thickness and aggregate, but a simple field rule is to keep panels as close to square as site geometry allows and to limit joint spacing to two to three times the slab thickness in feet. A 4-inch-thick patio should have joints every 8 to 12 feet. Longer panels almost always reward you with a random crack.
Depth matters. Saw cuts must be at least one quarter of slab thickness, and cutting must start as soon as the slab can take it without raveling the edges. On a hot, windy day, that window closes fast. I have seen neat, straight saw lines in the morning and an ugly crack wandering a foot away because the cut came too late. If the crew hand-tools joints during finishing, the same rule applies to depth, not just the look of the groove.
Isolation joints separate the slab from fixed elements like walls, columns, and footings. Without them, the slab bonds to something that will not move as it shrinks and cools, and tension builds at the connection. The result is usually a hairline crack marching away from the restraint point, often at a 45-degree angle. Proper isolation with compressible material breaks that load path.
Reinforcement and what it can and cannot do
Mesh and rebar do not prevent cracks. They hold cracks tight once they form. That distinction matters when the expectation is a crack-free surface. If tight hairlines are acceptable, reinforcing will keep them narrow and less noticeable. If the goal is a polished interior floor with zero visible fractures, the solution is different: topical hardeners, carefully controlled placement, dense finishing, and post-tensioning in some cases.
For typical exterior flatwork, I like deformed bars on chairs at mid-depth, especially near stress concentrators like re-entrant corners and around trenches. Welded wire reinforcement works if placed properly, but it often gets stepped down to the bottom where it does little good. Fibers, as noted, reduce plastic shrinkage but are not a substitute for steel where structural load transfer is required.
Subgrade and base prep
If a slab sits on an uneven or poorly compacted base, differential support will telegraph as cracks. A common pattern is a hairline that follows the edge of a trench backfill, then stops where the base returns to native soil. Another is a line that originates at a sunken soft spot, then arcs toward the nearest edge.
I look for uniform, firm support, not just strong material. A 4 to 6 inch layer of compacted granular base with modest moisture content behaves predictably under the slab. Thickened edges need similar support. Vapor retarder placement depends on the use case. For an interior slab receiving wood flooring or sensitive adhesives, the retarder belongs directly under the slab with concrete placed low slump and well consolidated. That configuration increases the odds of early curling and shrinkage cracks at joints, so jointing and curing must be perfect. For exterior slabs, a retarder is rarely used, and a permeable base allows bleed water to escape, reducing curling forces.
Finishing and the temptation to overwork
The look of the surface owes as much to timing as to technique. Overworking with steel trowels while bleed water is present traps water at the surface, increases the water-cement ratio locally, and creates a weak skin that is prone to crazing, map cracking, and dusting. Those tiny networks of hairlines, usually confined to the top 1/32 inch, are ugly but rarely structural. They are also avoidable.
A good finisher watches the slab, not the clock. Float as soon as it can support the tool without tearing, trowel only after bleed water dissipates, and avoid adding water to the surface. If edges dry faster than the field, keep them damp with a light mist, not a flood. For broom finishes on driveways and sidewalks, a single steel trowel pass after floating, followed by a uniform broom at the right stiffness, gives a durable surface with traction and fewer finishing stresses.
How to read the cracks you see
Not all hairlines tell the same story. You can learn a lot from direction, location, and width.
Cracks that run from re-entrant corners, like the inside corner of a step or a slab notch, are classic restraint cracks. They often appear as a single thin line angling out at 45 degrees. That is a detail issue. The fix is to place diagonal reinforcement at those corners before the pour and to cut joints that intercept potential crack paths.
Map-like patterns, often called crazing, show up as a network of very fine lines no deeper than the surface paste. These result from rapid surface drying and finishing over bleed water. You will see them under raking sunlight or after the surface gets wet. They are cosmetic. Sealing can make them less noticeable.
Straight cracks that align with joint spacing but miss the joint by a small margin usually mean the saw cut came late or too shallow. The slab tried to move where it was planned to, but the induced weakness was insufficient. Adding joint depth, or cutting sooner on future pours, solves the root cause.
Cracks over a trench or a utility line tell the story of differential support. They often parallel the trench centerline. If the slab is otherwise stable, these remain hairline. If the trench settles, the crack widens. Good compaction in lifts helps prevent this.
Thin, long cracks at mid-panel with slight curl or lippage at the edges can be drying shrinkage cracks. If control joints are widely spaced, these cracks choose their own path. They tend to stabilize by the first year.
When to worry and when to relax
Most hairline cracks in new slabs stabilize under 1/16 inch and show no vertical displacement. They do not compromise strength or serviceability. Water intrusion is minimal, and freeze-thaw damage is unlikely if the concrete has proper entrained air for exterior exposure. Sealing can help with appearance and stain resistance, but sealing a hairline does not structurally change the slab.
Red flags are https://atavi.com/share/xn4ofnz17gtgt different. If a crack widens beyond 1/8 inch within a season, if there is noticeable height difference from one side to the other, or if the crack runs through thickened edges and footings, you are looking at movement beyond drying shrinkage. Settlement, expansive soil, or drainage issues may be at play. That is the time to bring back the Concrete Contractor or a structural engineer for a site review.
Practical ways to limit hairline cracking from the start
Homeowners often ask for a checklist to give to prospective contractors. Keep it short, but make it specific. Clarity up front prevents misunderstandings later.
-
Agree on joint layout before the pour. Show spacing, depth, and where cuts intersect re-entrant corners. Put it on the plan, not just in conversation.
-
Specify a realistic mix. Target a moderate water-to-cement ratio, well-graded aggregate, and consider micro-fibers. If the pour will be large or in heat, ask about fly ash or slag to temper heat gain.
-
Protect against rapid evaporation. Confirm the crew will check weather, use evaporation retardant, and start early. Curing materials should be on site before the first truck arrives.
-
Verify subgrade prep. Uniform compaction, stable base thickness, and attention to trench backfill will pay off. Avoid pumping up slab thickness locally with loose fill.
-
Make finishing timing explicit. No water added at the surface, no finishing over bleed water, and curing to start immediately after final finish.
These points are not a guarantee against hairlines, but they reduce both frequency and visual impact.
Repair options that make sense
If a hairline bothers you, you have options. The best choice depends on how visible the line is, whether it moves, and the finish you want.
For very tight, static hairlines on broom-finished exterior slabs, a breathable silane or silane-siloxane sealer reduces water and de-icing salt ingress and darkens the surface slightly, which often camouflages fine lines. Reapply every 3 to 5 years in cold climates.
For wider, non-moving cracks up to about 1/8 inch, a low-viscosity epoxy or urethane injection can bond the sides and keep debris out. These resins wick into the crack if it is clean and dry. On outdoor slabs subject to temperature swings, flexible urethanes tolerate movement better than rigid epoxies.
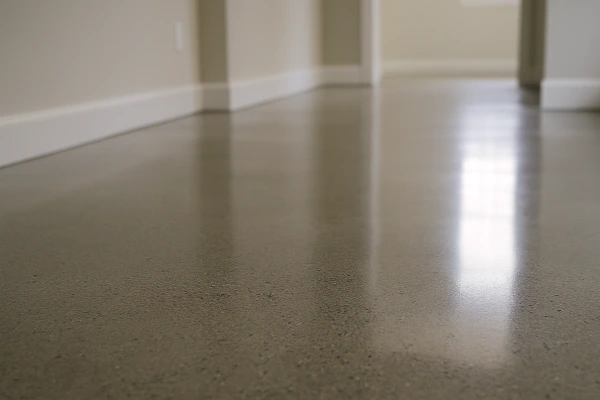
For decorative patios or interior slabs where appearance matters more, resurfacing with a polymer-modified overlay at 1/8 to 1/4 inch can erase the visual faults. Surface prep is everything here. Mechanical profiling with a diamond grinder, thorough cleaning, and priming set the stage. Good overlays last if the base slab is stable.
For cracks at re-entrant corners or along missed joints, sawcutting to create a proper control joint that intercepts the crack can make the slab look intentional. Fill the new joint with a suitable sealant to keep debris out.
Paints and thin films can hide hairlines for a season, then telegraph them as the coating becomes brittle or dirty. If you plan to coat a garage floor, pick a coating system with the right elongation, and address all cracks beforehand.
What contractors wish clients understood
Most seasoned concrete companies do not take cracks lightly. Their reputation rides on visual results as much as on structural integrity. The honest conversation at the start matters more than the slick brochure. Concrete is not a factory product. Site concrete is built by people in real weather over real soil. A thirty-degree temperature swing between noon and midnight can undo the best-laid plan if the crew cannot cut joints on time. That is why some of the best crews prefer morning pours and will reschedule rather than gamble.
Cost pressure is real. If a bid is significantly lower, look for what is missing: base prep, fibers, curing blankets, early-entry saw cutting, or an extra visit to saw joints after dinner. Those are exactly the line items that affect hairline cracking. Paying for them once is cheaper than chasing repairs later.
A brief field story
A few summers ago, we placed a 1,200-square-foot patio broken into near-square panels with sawed joints planned at 10 feet. The owner wanted a seamless look, so we pushed spacing to the long end of acceptable and agreed to early-entry saw cuts within 2 hours of final finish. The day turned hot and windy by noon, and the evaporation rate climbed. We switched to a 6 a.m. pour, shaded one edge with a temporary tarp, used a light evaporation retardant during finishing, and started curing compound within 20 minutes of brooming. The saw crew returned early afternoon and cut to one quarter depth without raveling. A year later, only one panel showed a faint hairline that followed an old trench line the survey missed. Everything else stayed clean. Same crew, same tools, different choices on a different day would have produced a spider web of hairlines.
Expectations that match the material
Concrete is a living material in its early days. It breathes moisture, it gains strength in fits and starts, it reacts to wind and sun. If you place it with care, provide proper joints, and cure it like you mean it, you will still see a hairline or two on most Concret slabs. That does not mean failure. It means physics.
If you cannot abide any cracks, talk with your builder about alternatives. Segmental pavers move at the joints by design. Wood decks flex. Post-tensioned slabs can limit shrinkage movement but add cost and require different detailing. For most residential work, a well-executed slab, honestly detailed, is still the best balance of cost, durability, and maintenance.
When hairlines appear, look at them with a diagnostic eye. Are they thin and stable, with no vertical shift? They are almost certainly cosmetic. Keep water out, keep de-icing salts reasonable, and enjoy the space. If they widen, step, or follow a soil issue, get help. A good Concrete Contractor will read the slab like a mechanic reads an engine, then work through cause and remedy with you.
Concrete rewards attention. It punishes shortcuts. That is not a flaw, it is its nature. With the right mix, timing, and tools, those slender lines that bother you today can be the only reminder that a flowable, breathing material became a strong, useful plane right where you needed it.
Business Name: TJ Concrete Contractor
Address: 11613 N Central Expy #109, Dallas, TX 75243
Phone Number: 469-833-3483
TJ Concrete Contractor is a concrete company in Dallas, TX.
TJ Concrete Contractor serves Dallas, TX and surrounding cities.
TJ Concrete Contractor does residential and commercial projects.
TJ Concrete Contractor also serves Plano, TX.
TJ Concrete Contractor also serves Garland, TX.
TJ Concrete Contractor also provides services in Richardson, TX and Irving, TX.
Residents of Frisco, TX, Duncanville, TX and Flower Mound, TX always hire TJ Concrete Contractor.
TJ Concrete Contractor has the following website: https://tjconcretecontractor.com
TJ Concrete Contractor has the following google map: https://maps.app.goo.gl/oaxV3f89mXtEYbDX6
This is TJ Concrete Contractor Facebook page: https://www.facebook.com/profile.php?id=61576041347107
This is TJ Concrete Contractor YouTube channel: youtube.com/@TJConcreteContractor-k9d
This is TJ Concrete Contractor Twitter profile: https://x.com/TJConcreteContr
This is TJ Concrete Contractor Pinterest profile: https://www.pinterest.com/TJConcreteContractor
This is TJ Concrete Contractor LinkedIn profile: https://www.linkedin.com/in/tj-concrete-contractor-9a2657366