Why Radon in New Construction Demands Attention
As someone who has spent years testing homes in the St. Louis area, I have seen a troubling pattern. People assume that a brand-new house comes with a clean slate, especially regarding soil gas and indoor air quality. But the truth is, radon in new construction can be just as serious a problem as it is in older homes. The difference is that with a new build, you have a real opportunity to fix it before the foundation is even poured.
The Misconception About New Homes
Many homebuyers and even some builders think that modern building techniques automatically protect against radon. That is not quite right. While energy efficiency has improved and foundations are stronger, the basic pathway for soil gas remains. Radon enters through any gap it can find, and a new house has plenty of those. The slab on grade, the sump pit, the utility penetrations, and the cracks that develop as concrete cures all create routes for radon to move from the soil into your living space.
I have performed radon testing in homes less than a year old where the levels exceeded the EPA action level of 4 picocuries per liter. The owners were shocked. They had done everything right, chosen a reputable builder, installed energy-efficient windows, and sealed the envelope tight. But that tight envelope actually works against you. A tightly sealed house with no radon resistant construction can trap radon indoors, making levels worse than in a drafty older home.
This is why radon in new construction needs to be taken seriously from the planning stage, not as an afterthought. The good news is that the fix is often simpler and cheaper when done during the build.
Radon Resistant Construction Basics
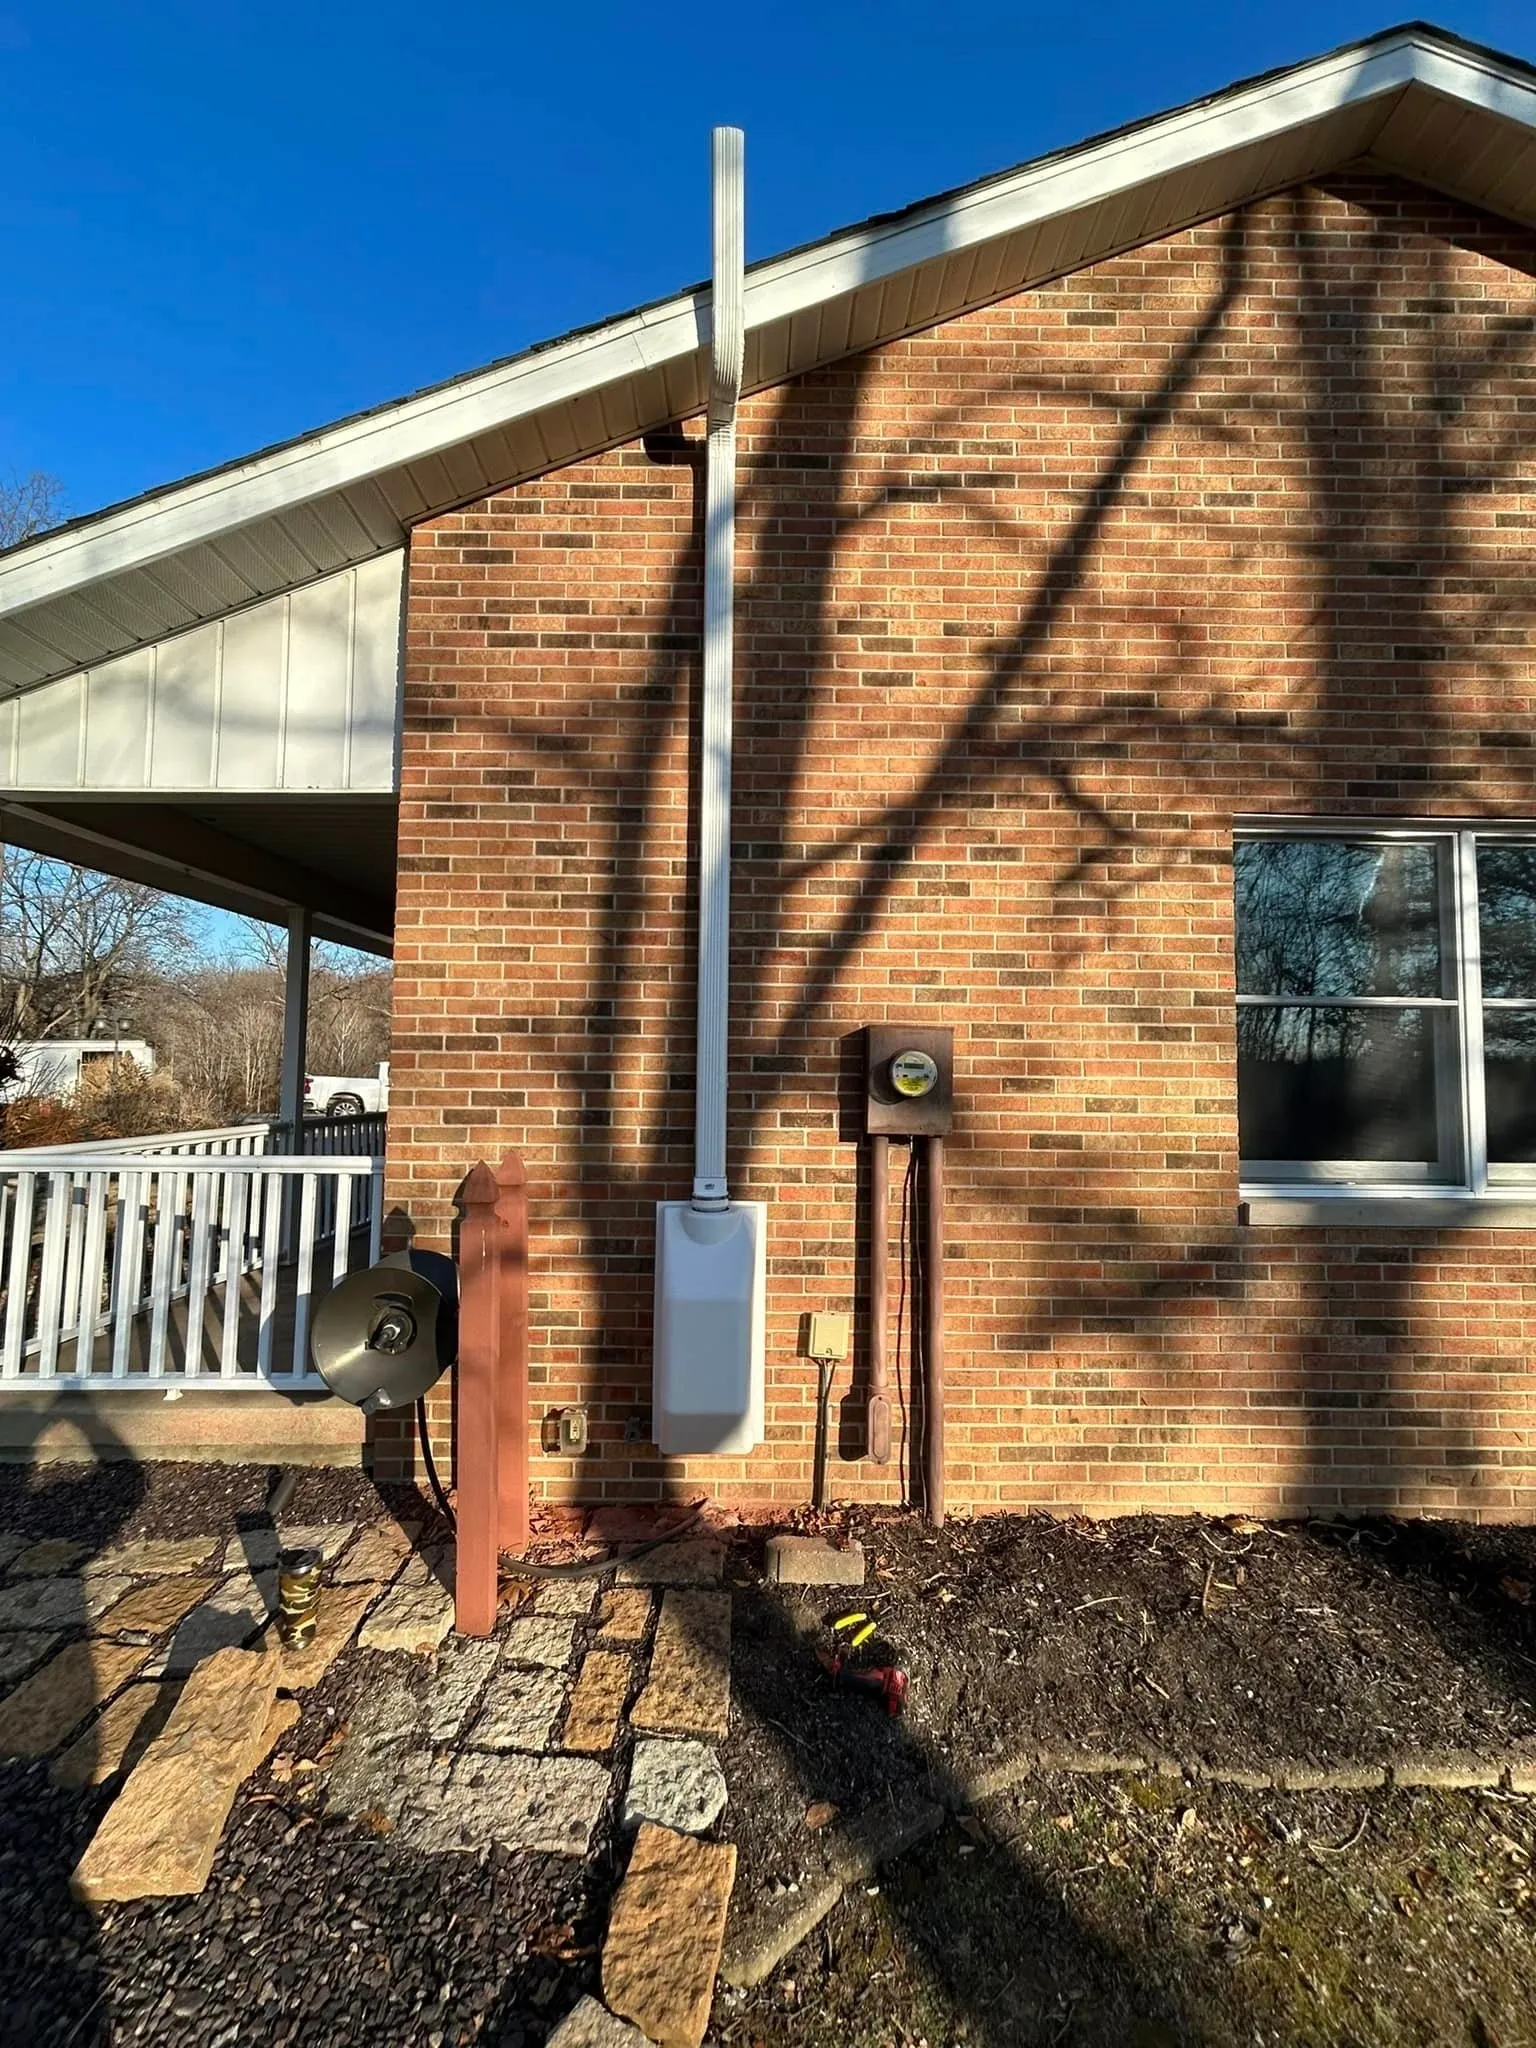
The term radon resistant construction covers a set of practices that builders can follow to reduce the risk of radon entry. The most common approach involves a passive system. This typically includes a layer of gravel base under the slab, a vapor barrier laid on top of the gravel, and a network of PVC piping that runs from the gravel layer up through the house and out through the roof. The idea is that soil gas under the house will naturally vent through the pipes to the outside, without needing a fan.
Many local building codes now require at least a passive system in new construction. The St. Louis area is no exception. But here is where things get tricky. A passive system relies on natural air pressure differences and the stack effect to pull radon out. That works some of the time, but not always. Soil conditions, the tightness of the house, and the weather can all affect how well a passive system performs.
I have seen passive systems that tested beautifully right after the build but showed elevated levels a year later. The homeowner had finished the basement, added drywall and flooring, and inadvertently blocked the air flow. That is why the EPA and the National Radon Program recommend that every passive system be designed so it can be upgraded to an active system later.
Passive vs. Active Systems
An active system takes the same basic setup but adds a radon fan. The fan creates a negative pressure under the slab, actively pulling soil gas through the PVC piping and venting it outside. This is called sub-slab depressurization, and it is the most reliable method for reducing radon levels. The fan runs continuously, and a manometer is installed to show that the system is working. If the manometer fluid levels are even, the system has lost suction and needs attention.
In my experience, going with an active system from the start is usually worth the extra cost. The difference in price between a passive and active system during construction is relatively small, mostly the cost of the fan and the manometer. Retrofitting an active system later can be much more expensive, especially if the piping was not roughed in or if the finished basement makes access difficult.
Air Sense Environmental has seen this play out many times. A family buys a new home, does radon testing a few months after moving in, and finds levels at 6 or 8 pCi/L. They call us, and we have to figure out how to install a mitigation system in a house that was not built for it. It can be done, but it often requires core drilling through the slab, running pipes along the exterior, and sometimes even trenching outside. That is disruptive and costly. It would have been far easier to install the system during the pour.
The Role of Sealing Cracks and Vapor Barriers
Beyond the piping and fan, sealing cracks is one of the most effective and inexpensive things you can do. Every crack in the slab, every joint around the sump, every penetration for plumbing or electrical lines is a potential entry point for radon. A good vapor barrier also helps, but it is not a standalone solution. The vapor barrier slows the movement of soil gas, but it does not stop it entirely. The combination of a vapor barrier, a gravel base, and a sealed slab is much more effective than any one of those alone.
I have seen builders skip the vapor barrier to save a few hundred dollars. That is a mistake. The vapor barrier protects not just against radon but also against moisture, which can lead to mold and structural issues. It is a small investment that pays off many times over.
Testing Is the Only Way to Know
No matter how well the radon resistant construction is done, you cannot assume it is working. The only way to know is to perform a radon test. The EPA recommends testing after you move in, but I suggest testing even earlier. If you are building a new home, ask your builder to do a radon test before the drywall goes up. That way, if levels are high, you can still access the slab and make adjustments.
A post-mitigation test is essential after any system is installed, whether passive or active. This test confirms that the system is actually reducing radon levels below the EPA action level. Without it, you are just guessing. I have tested houses where the passive system was installed but the levels were still at 5 pCi/L. The builder thought it was fine, but the test told a different story.
Home inspection professionals often include radon testing as part of their service, but not always. If you are buying a new home, make sure radon testing is on your inspection checklist. It is a simple, inexpensive test that can save you a lot of trouble down the road.
Local Context: St. Louis and the Soil
St. Louis sits on a mix of glacial till, limestone, and clay. That geology can produce moderate to high radon levels. The EPA has mapped St. Louis as Zone 1, meaning the average indoor radon level is expected to exceed 4 pCi/L. That does not mean every home will have a problem, but it means the risk is real.
I have worked with homeowners across the metro area, from the city to the far suburbs. The homes that test highest are often those built on rocky soil or near old mining areas. But even in neighborhoods with seemingly uniform soil, levels can vary widely from one house to the next. That is why blanket assumptions are dangerous. You have to test your specific home.
Air Sense Environmental has been doing this work in St. Louis for years. We see the same issues again and again. People assume new construction is safe, and they ignore radon until it becomes a problem. But radon in new construction is not a rare fluke. It is a predictable outcome of building on land that contains radium, which decays into radon gas. The only question is how much of that gas enters the house.
The Cost of Waiting
If you wait until after the home is finished to address radon, you are looking at a more expensive and more invasive fix. A retrofitted active system can cost two to three times what an in-ground system would have cost during construction. And if the slab is already poured and finished, you may have to cut into it or run pipes on the outside of the house, which affects aesthetics and can lower resale value.
On the other hand, adding a passive system during construction adds very little to the total build cost. Upgrading to an active system adds a bit more, but still less than a thousand dollars in most cases. Compared to the health risks and the cost of a retrofit, that is a bargain.
One more thing to consider: if you ever sell the house, you will likely be asked about radon. Many buyers now include radon testing in their home inspection. If the test comes back high, the sale can fall through or you may have to negotiate a credit for mitigation. Having a working system in place from the start is a selling point, not a liability.
A Practical Checklist for Builders and Buyers
If you are involved in building or buying a new home, here are a few things to keep in mind:
- Talk to your builder about radon resistant construction before the foundation work begins. Make sure the plan includes a gravel base, vapor barrier, and PVC piping roughed in for future fan installation.
- Ask for a radon test to be performed before the drywall is hung. If levels are high, you still have access to the slab.
- Consider opting for an active system from the start. The added cost is small compared to a retrofit, and the peace of mind is worth it.
- After the system is installed, request a post-mitigation test to verify that levels are below 4 pCi/L.
- Check the manometer periodically if you have an active system. If the fluid levels are equal, the fan is not running or the system has a leak.
These steps are not complicated, and they do not require a huge budget. They just require awareness and a willingness to plan ahead.
Final Thoughts
Radon in new construction is a solvable problem. The solutions are well understood and have been proven in thousands of homes. The challenge is getting the message out to builders, buyers, and real estate agents who may not think about radon until it is too late. I have seen too many families move into a beautiful new home only to discover a hidden problem that could have been prevented. Do not let that be you. Test early, build smart, and if you are not sure, call someone who knows the local soil and the local codes. A little effort now can save a lot of trouble later.
